How to Log In to the Admin Panel
For users of the Email Sidebar on:


5 min read
Important
In March 2023 release, the new Admin Panel was introduced. The support of the legacy Admin Panel will be ceased soon, thus we strongly encourage that our customers switch to the new Admin Panel. This article contains two sections:
• How to log in to the new Admin Panel
• How to log in to the legacy Admin Panel
To use RG Email Sidebar Admin panel, special access permissions are required. To request the permissions for your organization, contact Revenue Grid support team by email. Admin panel provides tools for managing end users and some of its key settings it includes duplicate RG Email Sidebar Customization and Sync settings on Admin level.
How to log in to the new Admin Panel
RG Administration panel is the advanced setup page that enables local product administrators to configure, manage, and monitor the Users and Profiles. The Admin panel contains the following tabs:
-
Profiles. Displays the Profiles page, where you can view a list of profiles and can manage what profiles are authorized to use specific Revenue Grid product packages
-
Users. Displays the Users page, where you can view the list of users and manage what users are authorized to use specific Revenue Grid product packages, user-specific settings, activity, etc.
-
Licenses. Displays the Licenses page where you can view the list of licenses and manage users’ configurations
Currently four Admin panel options are implemented. Admins can log in to the Administration panel with
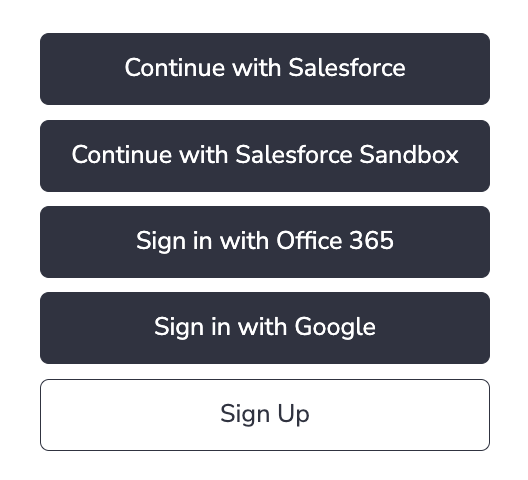
Admin panel login with Salesfoce
1. Open the Admin panel access URL provided by Revenue Grid Support Team in your web browser

2. On the login page that opens, select Continue with Salesforce
3. Enter your authorized Admin login account or enter the login credentials in the Salesforce OAuth window that appears
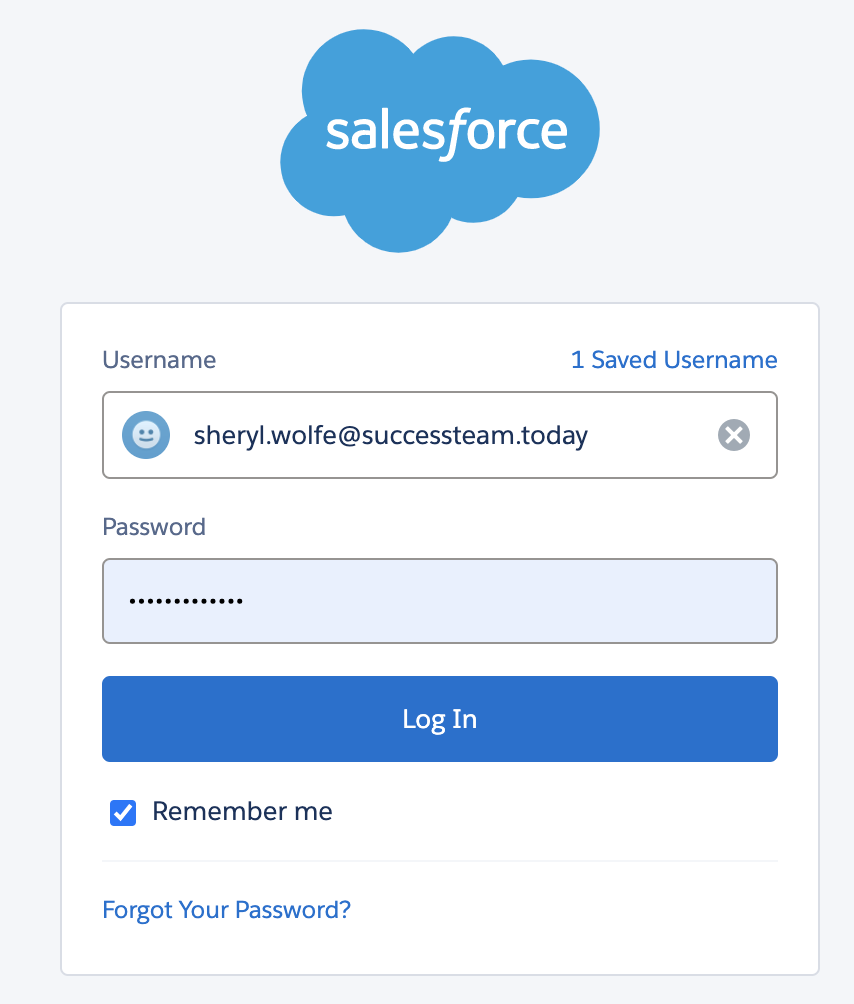
3. If your Admin login credentials are correct, you will log to Revenue Grid Administration Panel
Admin panel login with Salesfoce Sandbox
1. Open the Admin panel access URL provided by Revenue Grid Support Team in your web browser

2. On the login page that opens, select Continue with Salesforce Sandbox
3. Enter your authorized Admin login account or enter the login credentials in the Salesforce OAuth window that appears
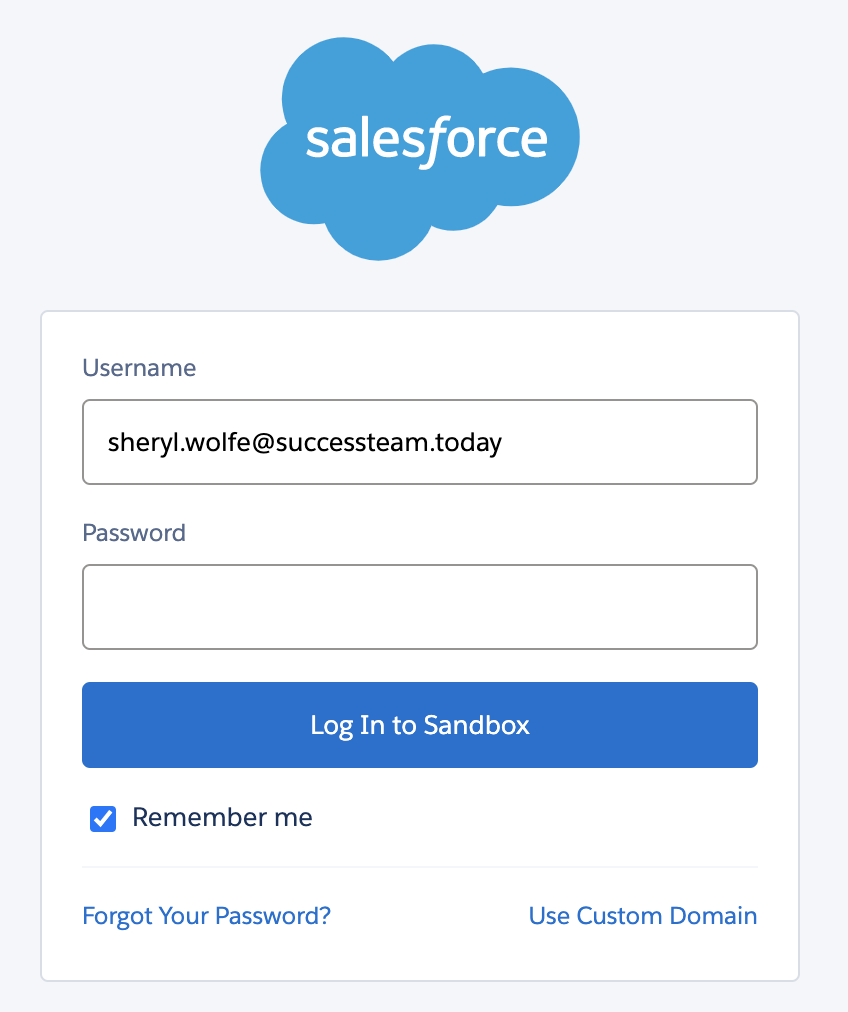
3. If your Admin login credentials are correct, you will log to Revenue Grid Administration Panel
Admin panel login with Microsoft OAuth (Office 365 or Microsoft 365)
MS Office 365 OAuth authentication method can be used to access RGES Admin panel, if configured.
To log in over MS OAuth:
1. Open the Admin panel access link provided by Revenue Grid Support Team in your web browser

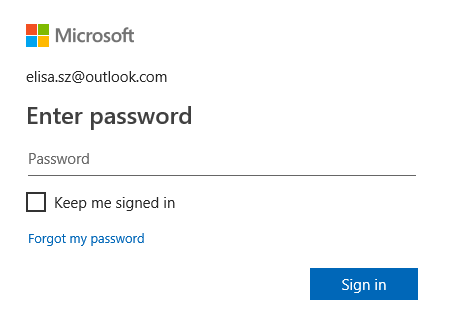
2. Click on the Sign in with Office 365 option
3. Select RG Admin’s account or enter the login credentials in the O365 OAuth dialog that appears. Don’t worry, this authorization will be used exclusively to log in to the Admin panel
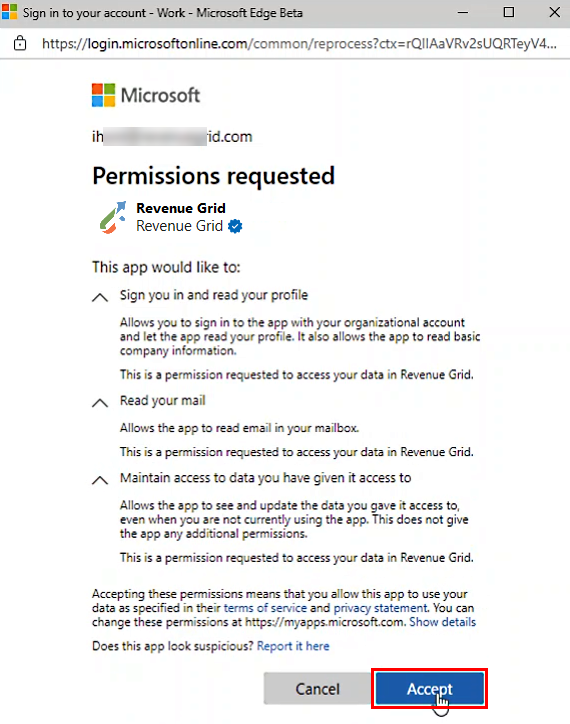
4. This is normally required on the initial login. O365 will request specific access permissions for Revenue Grid. This data access is fully secured by RG data privacy and security guarantees, it is never used for any activities not initiated by you.
Click Accept in the dialog to finalize authorization
>>> Click to see a screenshot <<<
5. If your Admin login credentials are correct, you will log to Revenue Grid Administration Panel
Admin panel login with Gmail OAuth
Gmail OAuth authentication method can also be used to access RGES Admin panel, if configured.
To log in over Google OAuth:
1. Open the Admin panel access link provided by Revenue Grid Support Team in your web browser

2. Click on the Sign in with Google option
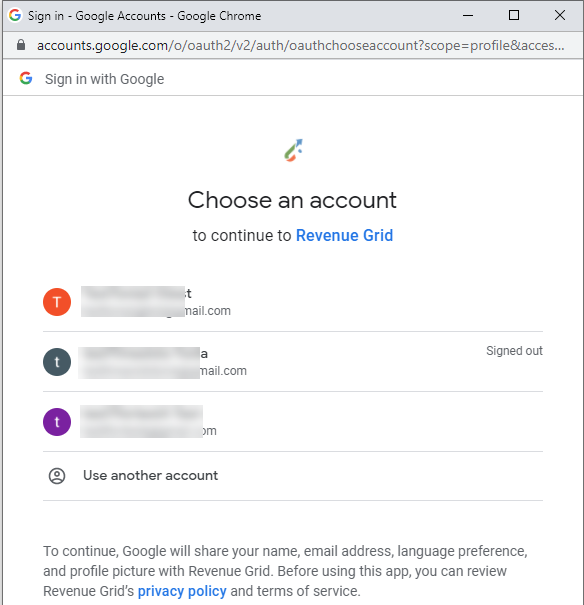
3. Select the RG Admin account or enter login credentials in the Google OAuth dialog that appears. Don’t worry, this authorization will be used exclusively to log in to the Admin panel
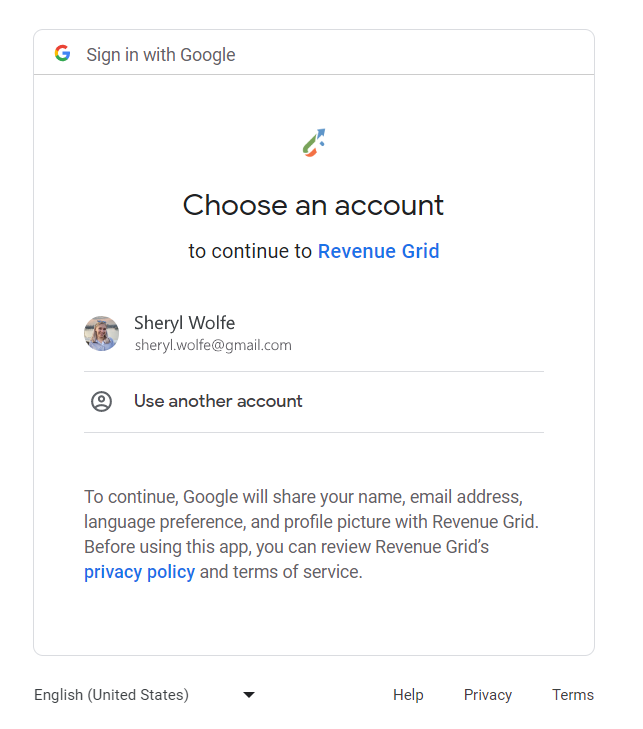
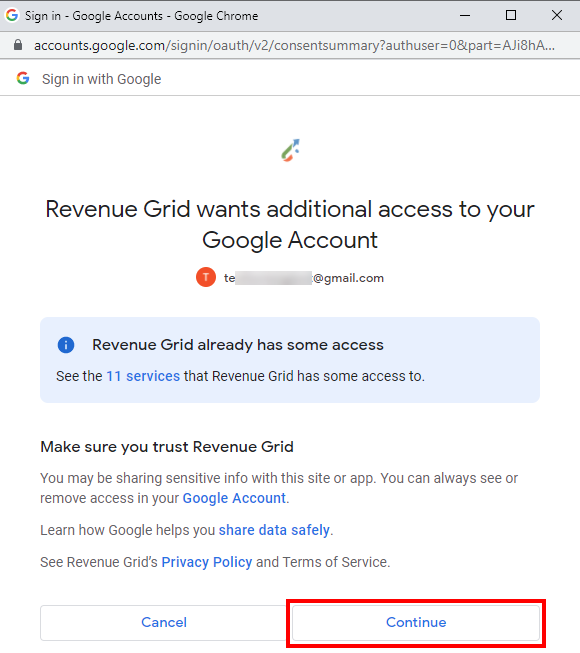
4. Next, Google will notify you about specific access permissions granted for Revenue Grid. This data access is fully secured by RG data privacy and security guarantees, it is never used for any activities not initiated by you.
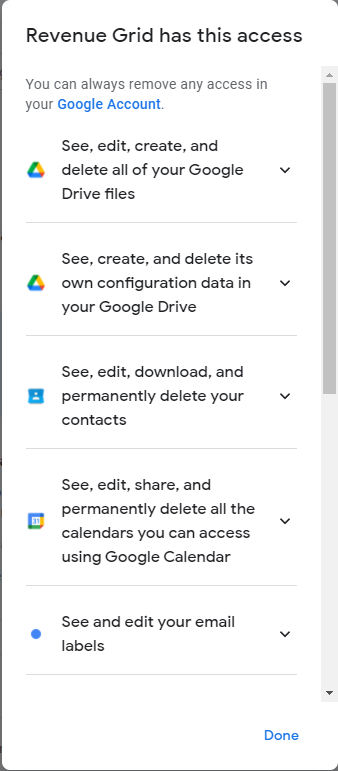
>>> Click to see list of required permissions <<<
The standard set of 10 permissions that Revenue Grid obtains for every Gmail user on provisioning. See this article for more details.
- See, edit, create, and delete all of your Google Drive files
- See, create, and delete its own configuration data in your Google Drive
- See, edit, download, and permanently delete your contacts
- See, edit, share, and permanently delete all the calendars you can access using Google Calendar
- See and edit your email labels
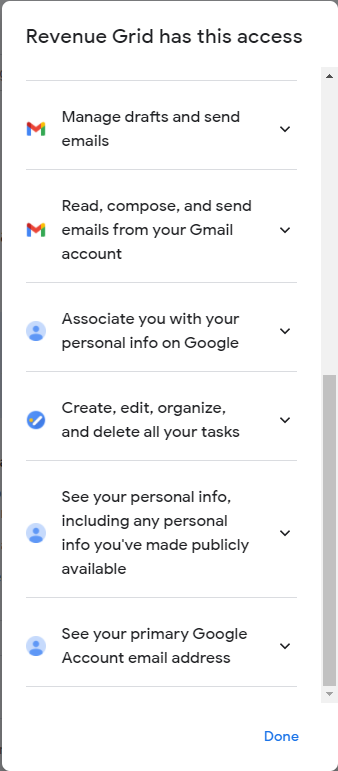
- Manage drafts and send emails
- Read, compose, and send emails from your Gmail account
- Associate you with your personal info on Google
- See your personal info, including any personal info you've made publicly available
- See your primary Google Account email address
Click Continue in the dialog to finalize authorization.
5. If your Admin login credentials are correct, you will log to Revenue Grid Administration Panel
How to log in to the legacy Admin panel
RG Administration panel is the advanced setup page that enables local product administrators to configure, manage, and monitor the Users and Profiles. The Admin panel contains the following tabs:
-
ROI Study/Health Status. RG Email Sidebar return on investment, use efficiency, and product setup status monitoring tools
-
Organizations. Displays the Organizations page where you can view a list of organizations and manage what organizations are authorized to use the RG Email Sidebar
-
Users. Displays the Users page, where you can view the list of users and manage what users are authorized to use the Add-In / Chrome Extension and Revenue Grid Synchronization
-
Plans. Displays the Plans page where you can view the list of plans and manage users’ configurations
-
Activity. In the latest RG Email Sidebar updates Admin panel also includes the Activity tab that lists all activities performed in the Admin panel by every user with Admin permissions. The tab is very useful for rolling back unwanted changes or defining who did what changes in Admin settings
-
Global settings. This page is normally managed by Revenue Grid CSM team and is not displayed for local Admins. On this tab you can view and adjust a number of specific RG Email Sidebar settings
Admin panel ordinary login
1. Open the Admin panel access URL provided by Revenue Grid in your web browser
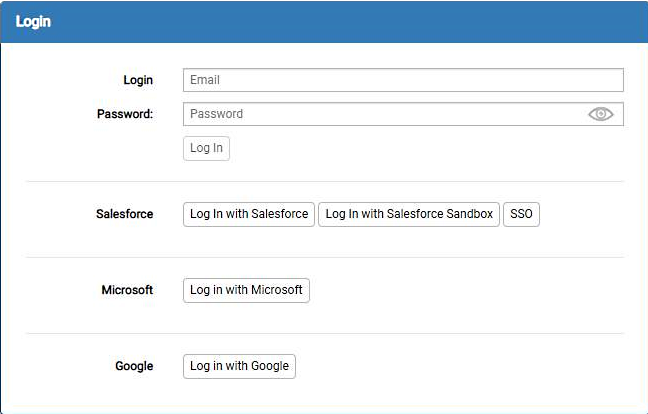
2. Do either of the following, depending on the configured authorization system
- The default login procedure: click Log In with Salesforce and enter your authorized Admin login credentials in the Salesforce OAuth window that appears
- The alternative custom login procedure: enter your Login (email address), Password, and the Instance (if required) provided by Revenue Grid and then click Log In
3. If your Admin login credentials are correct, you will see the ROI Study of the Administration Panel upon logging in to it
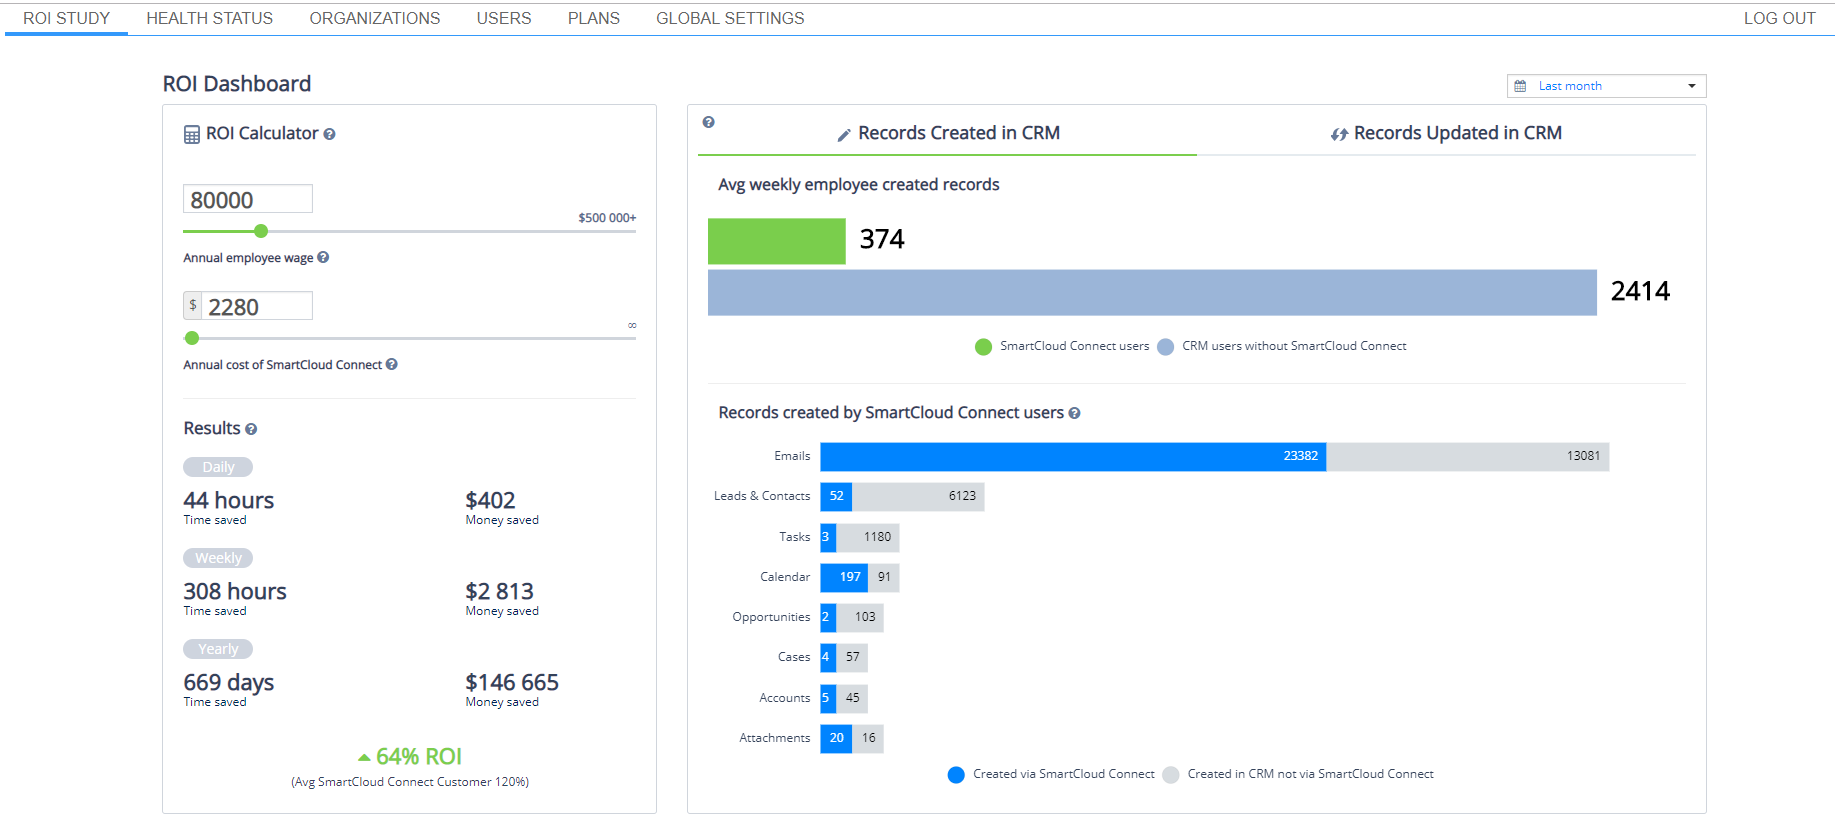
Admin panel login with Salesforce Single Sign-On
In case you don’t want to enter your admin panel login credentials directly and instead use secure Salesforce SSO login. This is the default logon method:
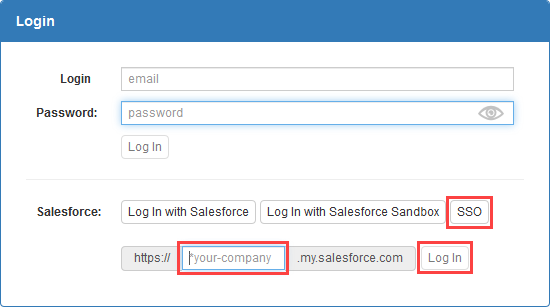
1. On the Admin panel login page: click on SSO in the lower right corner, then enter your company’s Salesforce Org link in the corresponding field below and click Log In
2. A standard Salesforce OAuth window will appear. In it, you can either select a previously saved account or enter your Salesforce user login and password:
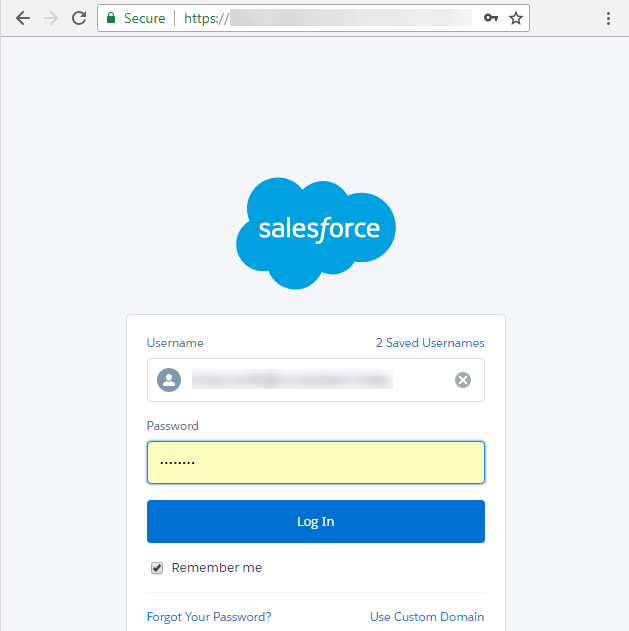
3. Click Log In and RG Email Sidebar admin panel will be opened in a new browser tab
Admin panel login with Microsoft OAuth (Office 365 or Microsoft 365)
MS Office 365 OAuth authentication method can be used to access RGES Admin panel, if configured.
To log in over MS OAuth:
1. Open the Admin panel access link provided by Revenue Grid Support Team
2. Click Log in with Microsoft in the login dialog

3. Select RGES Admin’s account or enter the login credentials in the O365 OAuth dialog that appears. Don’t worry, this authorization will be used exclusively to log in to the Admin panel
>>> Click to see a screenshot <<<
4. This is normally required on the initial login. O365 will request specific access permissions for RG Email Sidebar. This data access is fully secured by RGES data privacy and security guarantees, it is never used for any activities not initiated by you.
Click Accept in the dialog to finalize authorization
>>> Click to see a screenshot <<<
Several seconds later you will see the Admin panel’s user interface.
Admin panel login with Gmail OAuth
Gmail OAuth authentication method can also be used to access RGES Admin panel, if configured.
To log in over Google OAuth:
1. Open the Admin panel access link provided by Revenue Grid Support Team
2. Click Log in with Google in the login dialog
3. Select RGES Admin account or enter login credentials in the Google OAuth dialog that appears. Don’t worry, this authorization will be used exclusively to log in to the Admin panel
4. Next, Google will notify you about specific access permissions granted for RG Email Sidebar. This data access is fully secured by RGES data privacy and security guarantees, it is never used for any activities not initiated by you.
>>> Click to see permissions detailing and screenshots <<<
The standard set of 11 permissions that RG Email Sidebar obtains for every Gmail user on provisioning. See this article for more details.
- See, edit, create, and delete all of your Google Drive files
- See, create, and delete its own configuration data in your Google Drive
- See, edit, download, and permanently delete your contacts
- See, edit, share, and permanently delete all the calendars you can access using Google Calendar
- See and edit your email labels
- Manage drafts and send emails
- Read, compose, and send emails from your Gmail account
- Associate you with your personal info on Google
- Create, edit, organize, and delete all your tasks
- See your personal info, including any personal info you've made publicly available
- See your primary Google Account email address
Click Continue in the dialog to finalize authorization.
Several seconds later you will see the Admin panel’s user interface.


We would love to hear from you!